Create a Page-Based Lead Tag
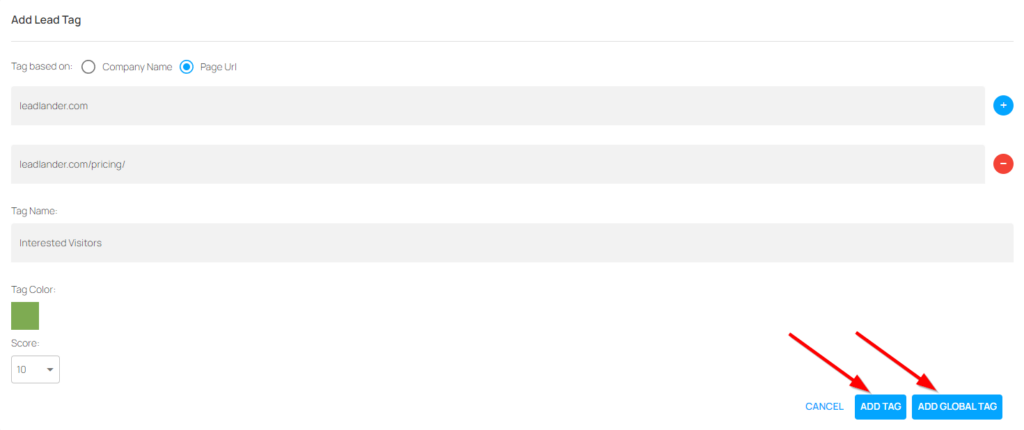
You can specify a single page or a group of pages that will qualify a visitor to be tagged. Once a Lead Tag is set up, any future visitors that have visited every page within your Lead Tag will have the Lead Tag added to the Lead Cards within the Visits page.
Here is how to set up a page-based lead tag:
Step 1: Log into your Lead Lander account
Step 2: click on the “Lead Tags” tab at the top of the page

Step 3: Click on the blue “Add Lead Tag” button

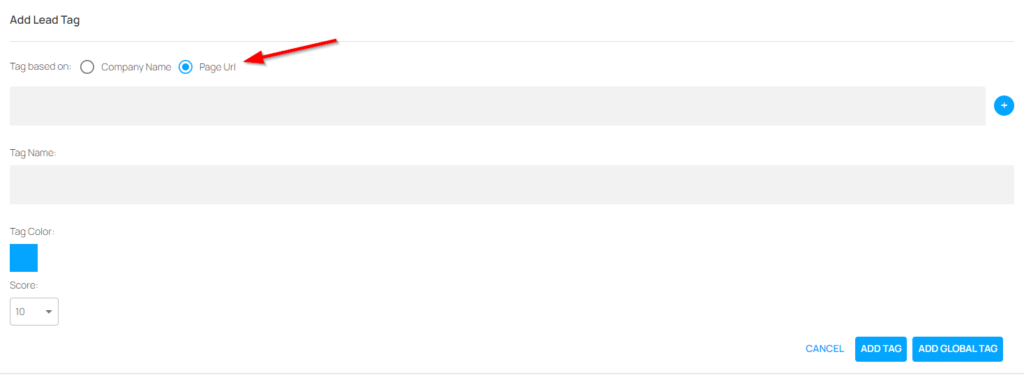
Step 4: Choose the option: Tag based on: Page Url
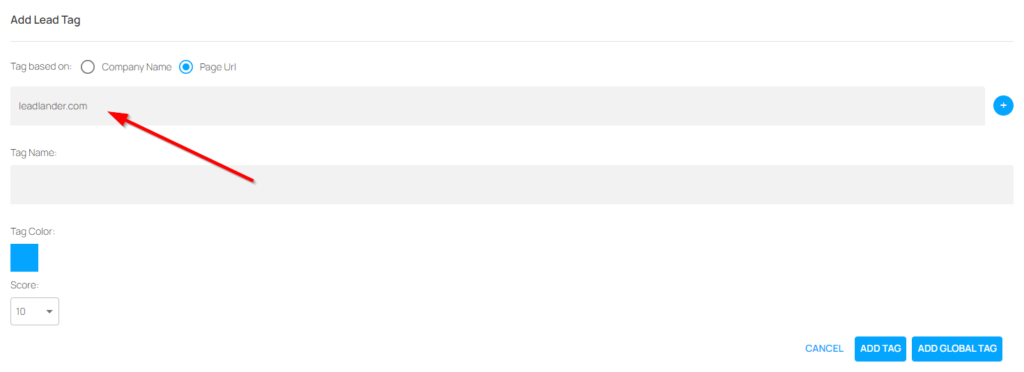
Step 5: Add the URL you would like to track to the box below the “Tag based on” options.
Step 6: (Optional) For multiple pages click on the + button to the right of the URL box and repeat step 5 with the new box that shows.
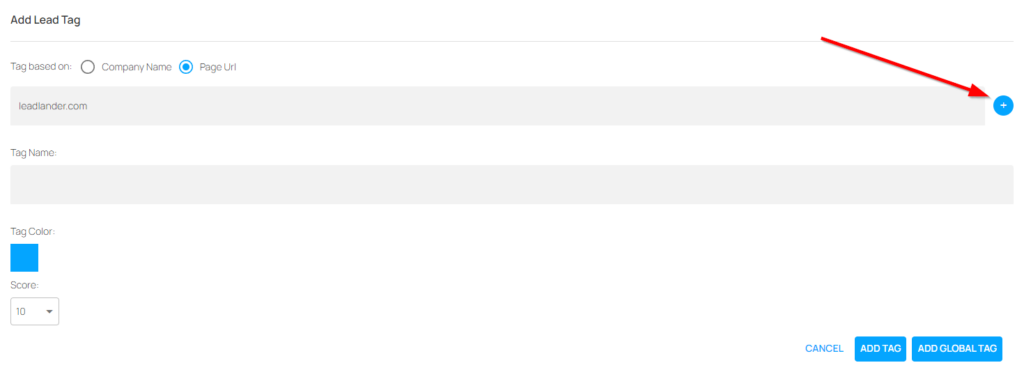
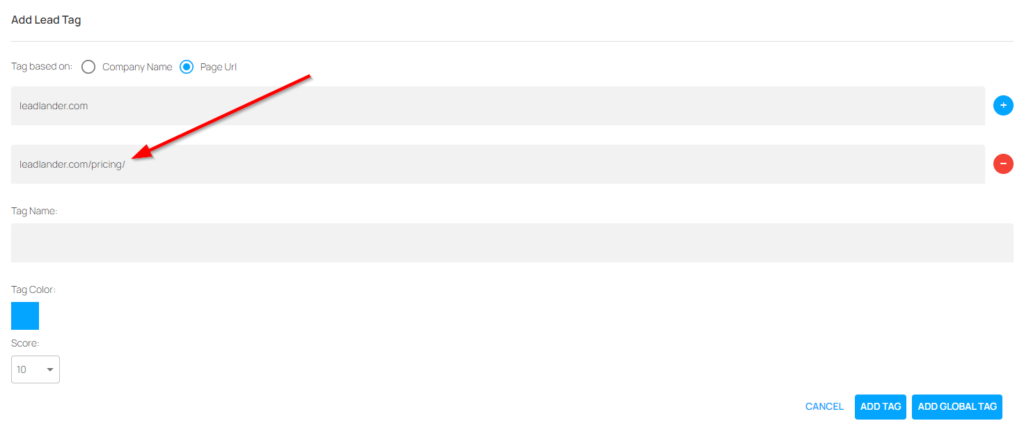
You can add as many URLs as you need by pressing the blue + button. To delete a URL, click the red – button next to the URL you wish to delete. Note that you must have at least 1 URL added for the tag to work.
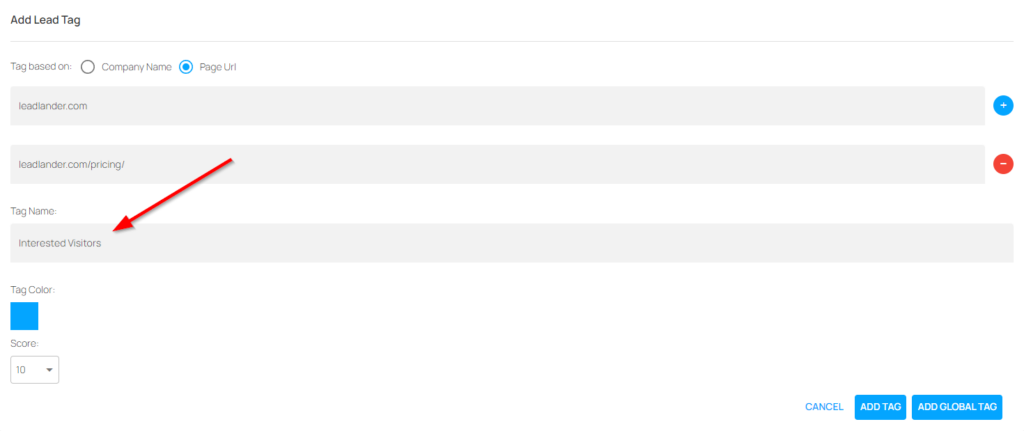
Step 7: Create a name for the tag. This will be the words that are displayed on the tag in the Visits page.
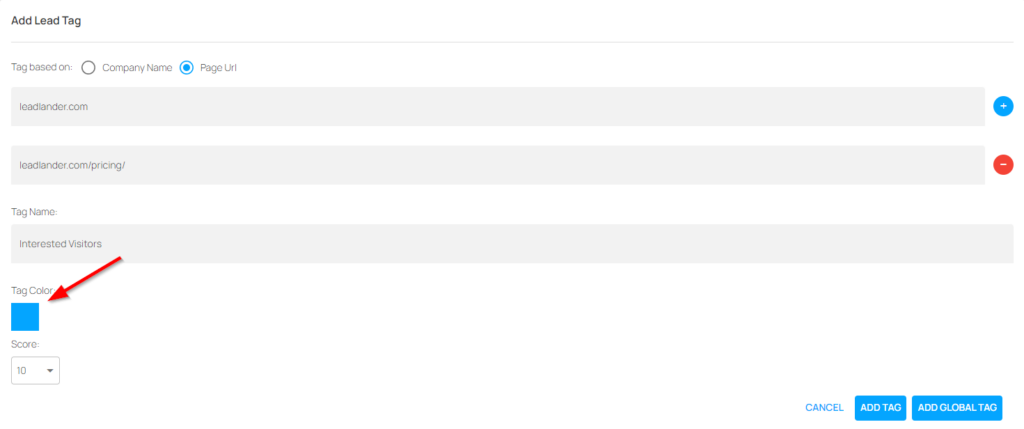
Step 8: Click on the box under the label “Tag Color” and use the color selector to pick a color for your tag.

Step 9: Choose a score to give the lead tag. Your options will be from 1 to 10. This will act as a modifier to the overall lead score given to the visitor. The higher the score, the larger the boost.
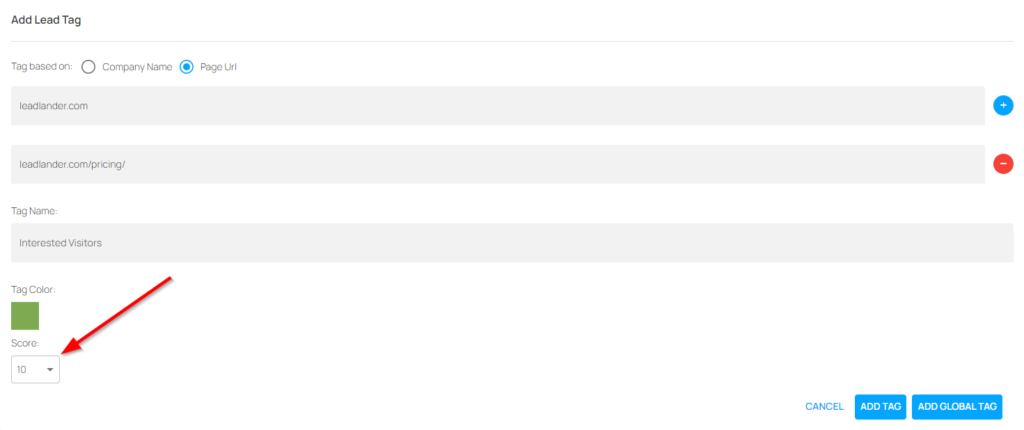
Step 10: Choose how you want to save the tag. Clicking “ADD TAG” will add a tag that is applied to only your account. Clicking “ADD GLOBAL TAG” will add the tag for your entire organization.
